

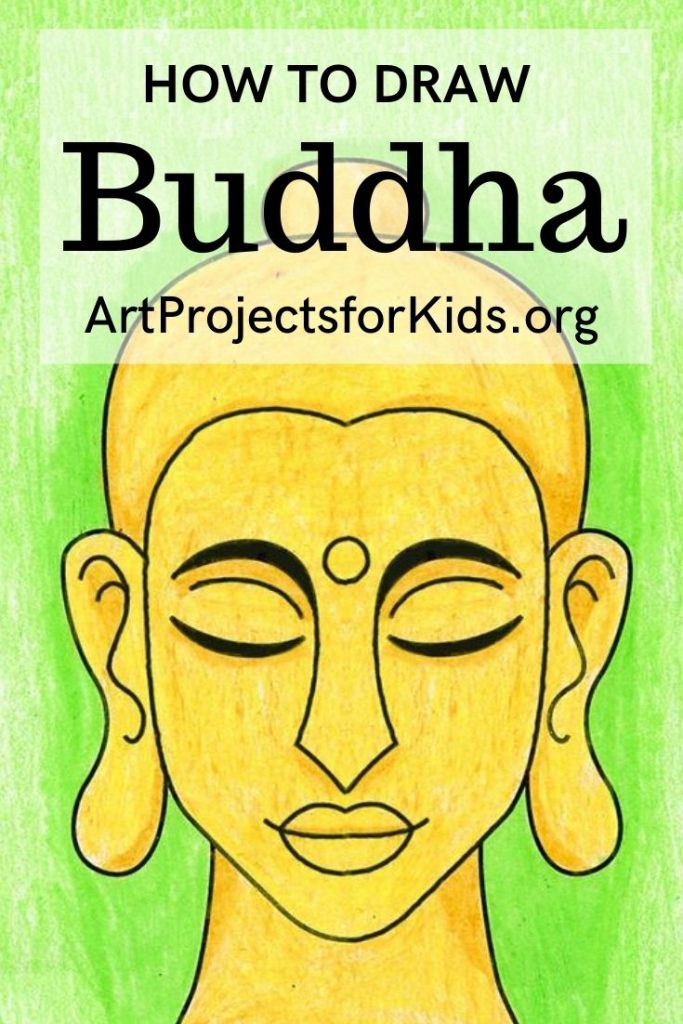
How To Draw Buddha Step By Step
Like shooting fish in a barrel How to Draw Buddha Tutorial
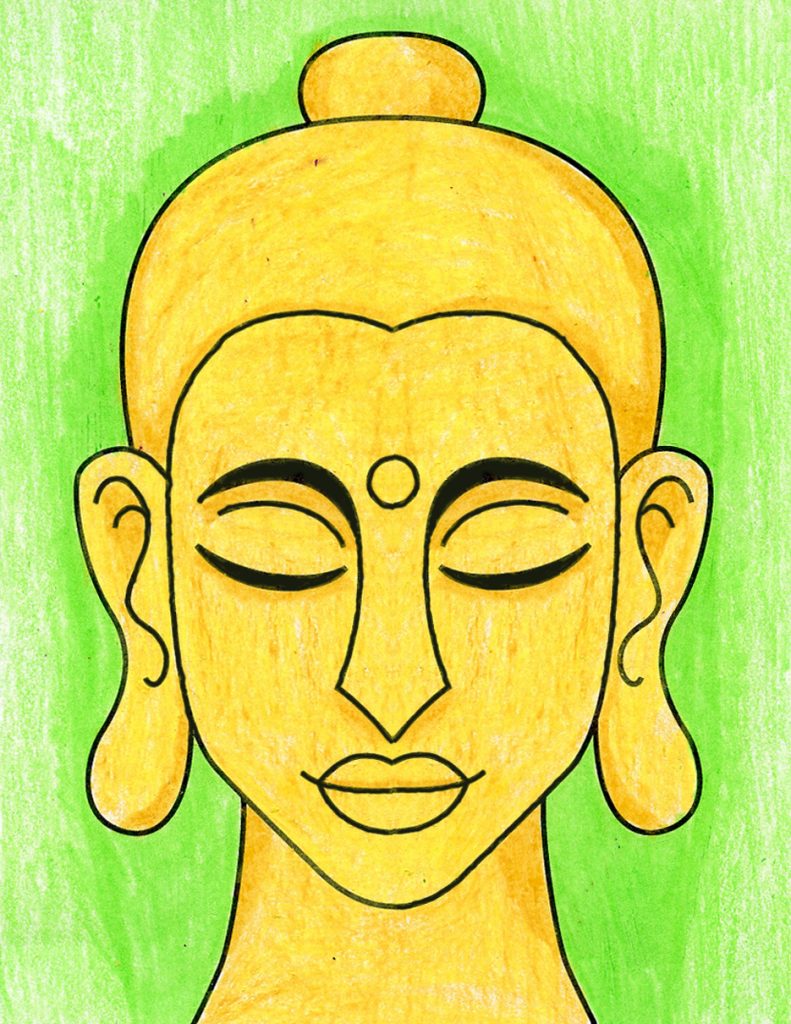
Learn how to draw Buddha with this piece of cake stride by step tutorial. Focus on his face so that you lot tin can try to capture his very peaceful await.
TheBuddha was a philosopher, meditator, spiritual teacher, and religious leader who lived in Ancient India. He is also considered the founder of the world organized religion of Buddhism.
One way to appreciate the civilization and his prototype in particular is to describe his portrait. His face has very simplified features that are easy to draw and give him a very peaceful look.
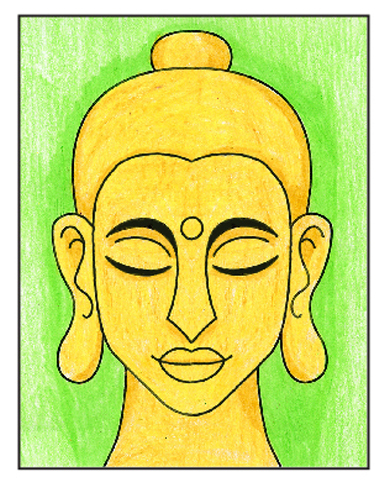
All those simple shapes are besides perfect for shading so students can try to go a dimensional wait, just like a Buddha statue. A trivial extra force per unit area in a few corners will practise the play a joke on.
Tip: If you're not happy with your golden color, effort layering. The sample above was beginning colored with a brownish gold, and then covered with a layer of yellowish. It added a glow like a charm!
Pivot me to your Pinterest Board
Employ the Button below to Download a PDF Tutorial
Materials for How to Depict Buddha
- Eraser. Large ones yous can hold in your hand do a much better job than just the pencil tips.

- Blackness Sharpie Mark. These fine point permanent marker pens brand nice black outlines, have a practiced tip for coloring, and never bleed when they get wet. Use them with proficient ventilation and add actress paper underneath to protect your tables.

- Prang Crayons. These are a bit softer than other crayons and then they sometimes look like oil pastels. They too accept a some nice dark-brown shades that Crayola does not have unless y'all purchase their larger boxes.
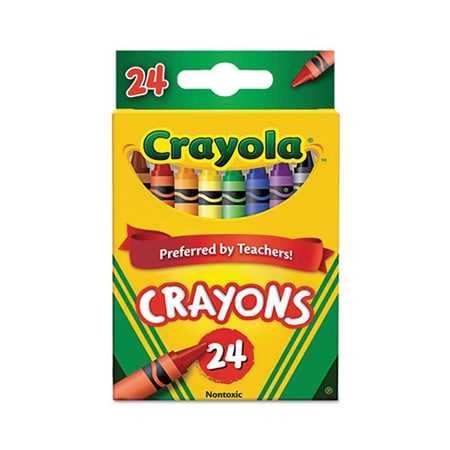
- Crayola Crayons. The reliable make that always works well. The 24 pack has some of my favorite golden orange and yellow colors that seem a bit richer and warmer than the ones Prang has.
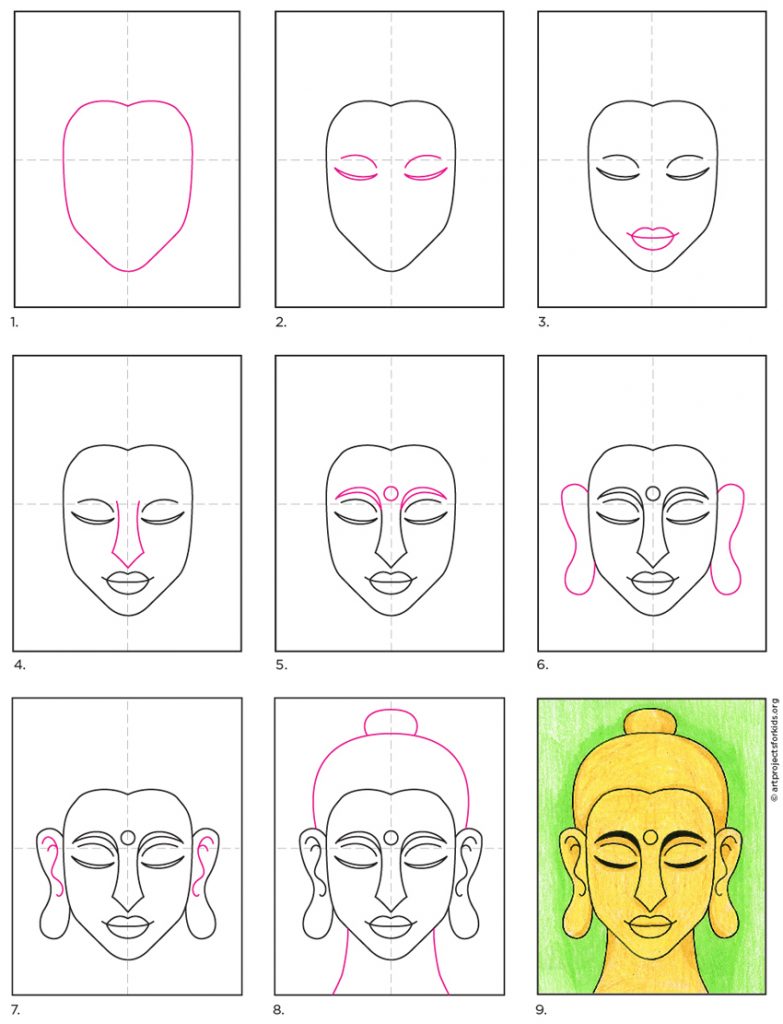
Directions for How to Draw Buddha Step by Step
Time needed:30 minutes.
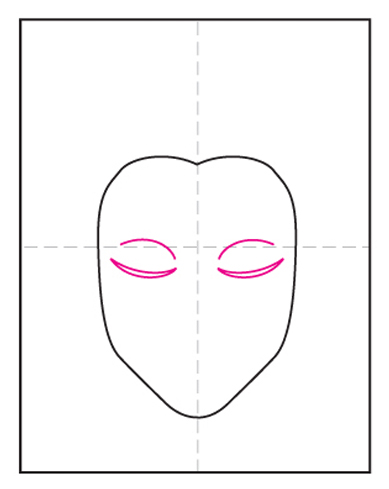
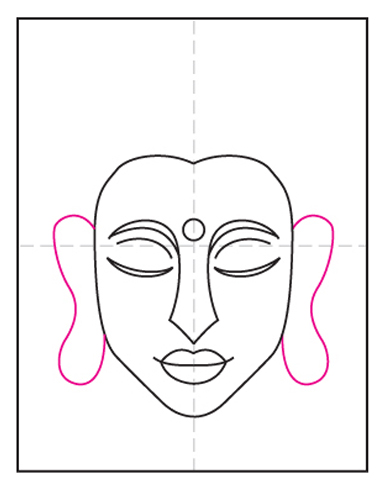
- Depict the outline of the face.

- Add together the centre lines.
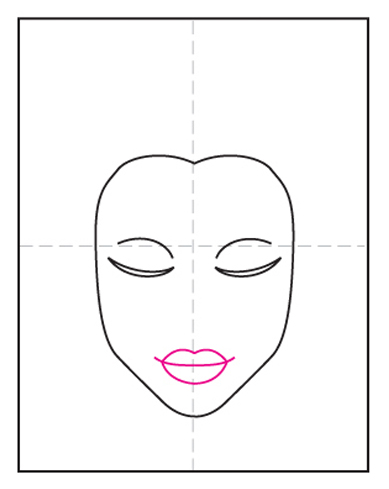
- Draw the lips.
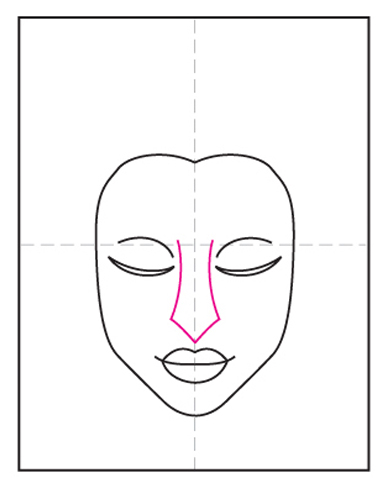
- Add the centered nose.
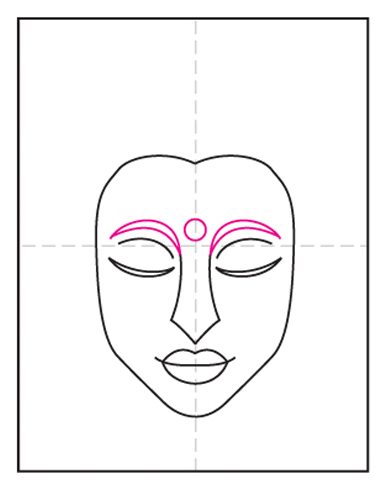
- Connect the brows, add circle.
- Draw the large ears.
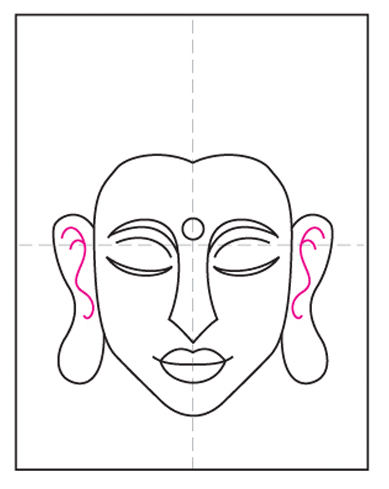
- Add the details inside.
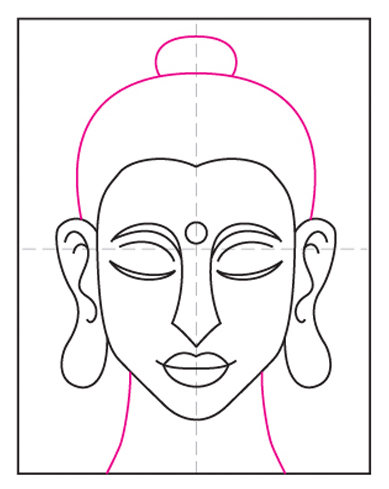
- Finish with neck, hair and bun.
- Trace with marking and color.

Source: https://artprojectsforkids.org/how-to-draw-buddha/
Posted by: fungunpleted.blogspot.com
0 Response to "How To Draw Buddha Step By Step"
Post a Comment